New Home Card

Sarah and Jack have moved into their new home, a flat in central London, so here is the card I made to send to them.

20200804_111554

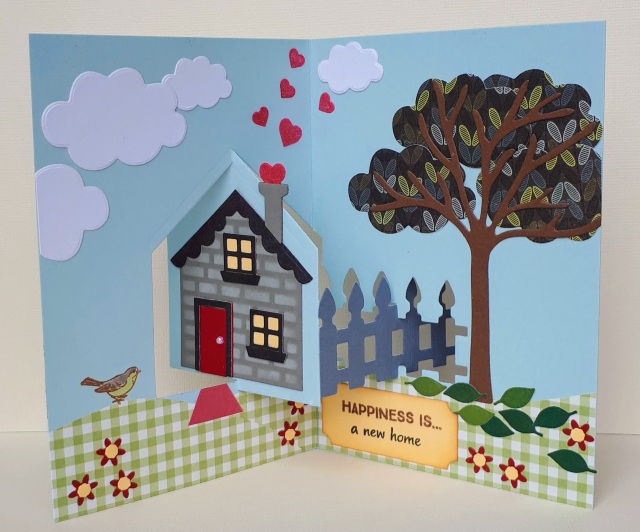
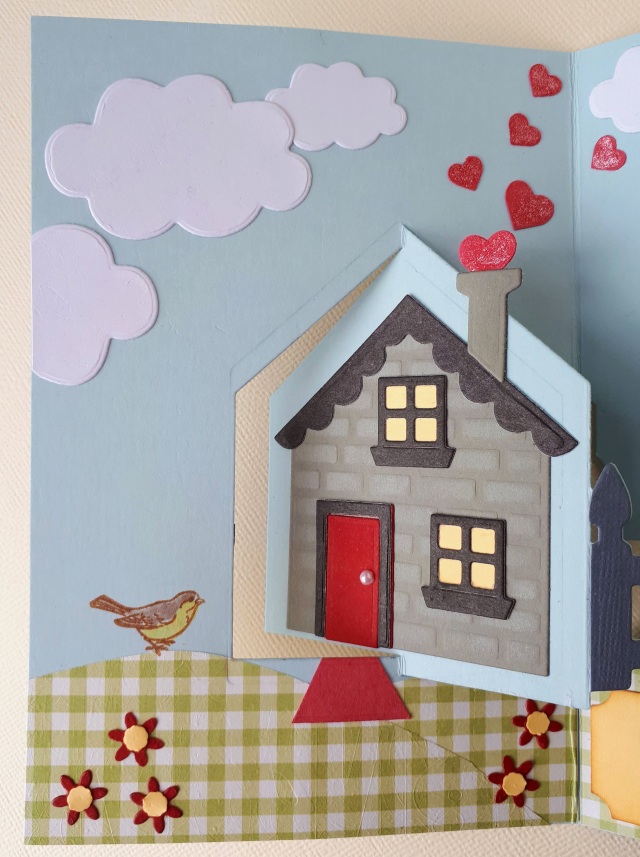
The house on the outside of the card pivots to the inside as the card is opened so only one has to be decorated. The brickwork layer of the die has the embossing feature and I also used it as a stencil with some white pigment ink to add more definition to the bricks.

20200804_111508

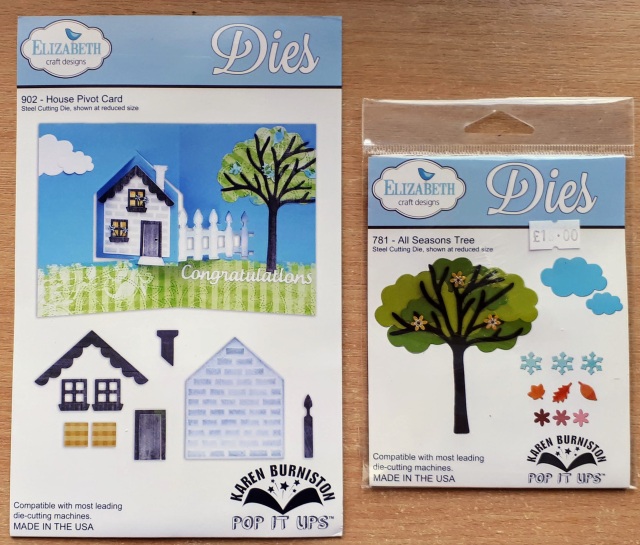
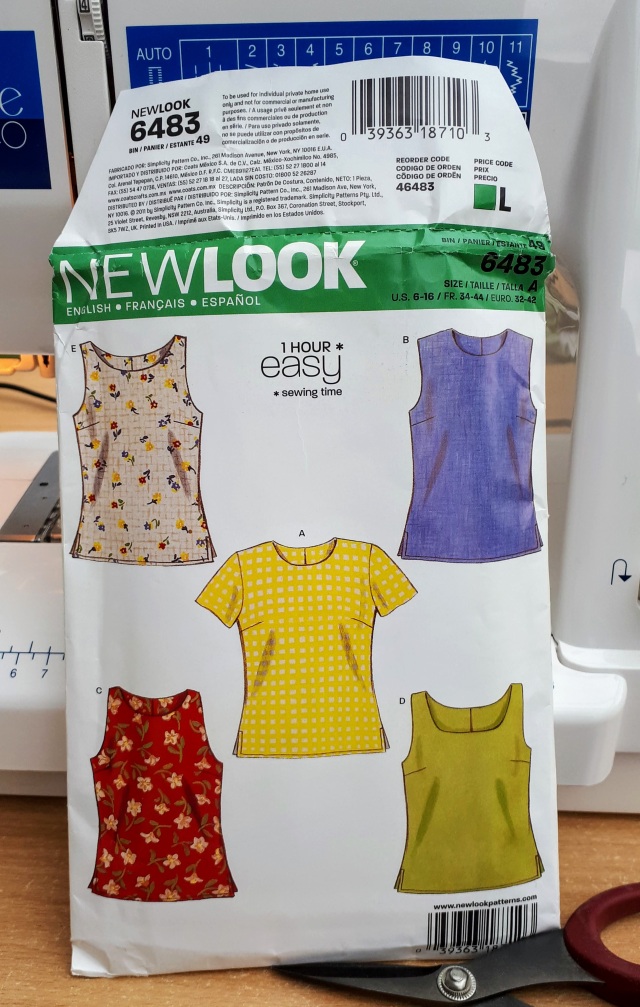
I used Karen Burniston’s House Pivot Card die set and All Seasons Tree. The design on the packaging inspired my card.

20200804_094635

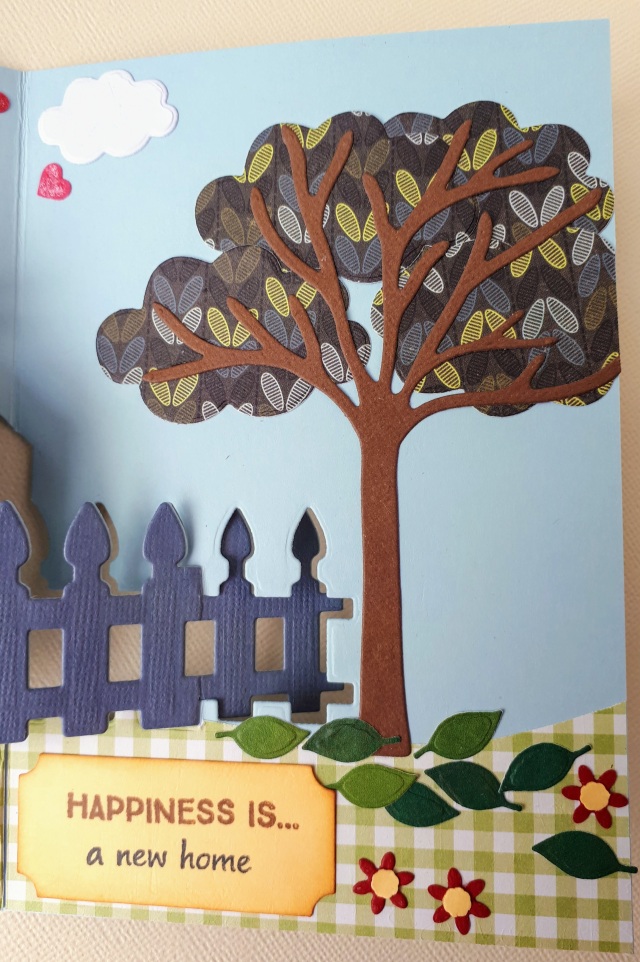
I had a scrap of patterned paper in my stash with a design that looked a bit like leaves so I used that for the tree foliage. The same die is used for the clouds!

20200804_111624

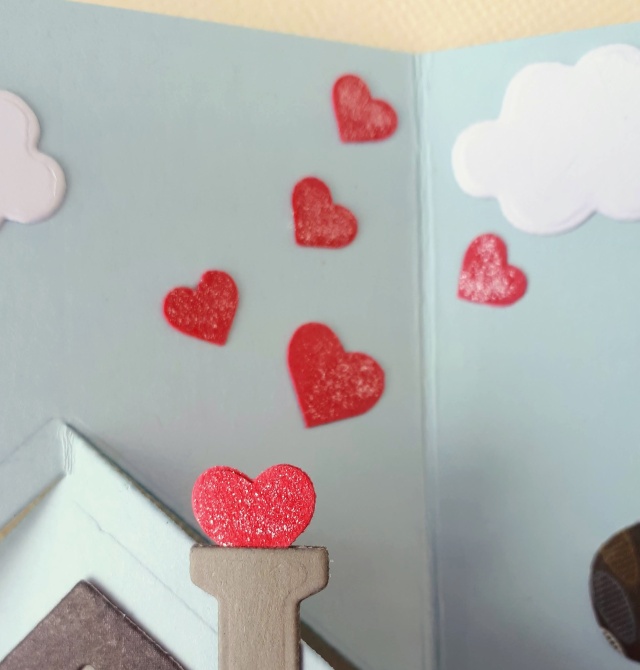
I have added glitter to the tiny punched hearts coming from the chimney. I die cut the chimney twice so that I could glue the larger heart between the layers so it was nice and sturdy as the card opens.

20200804_111607
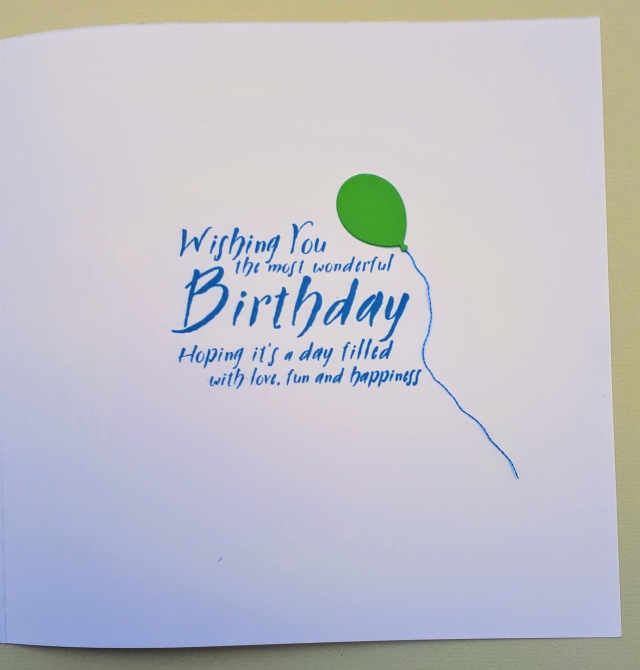
I’ve added a stamped bird, doormat and tiny flowers to the scene:

20200804_111635

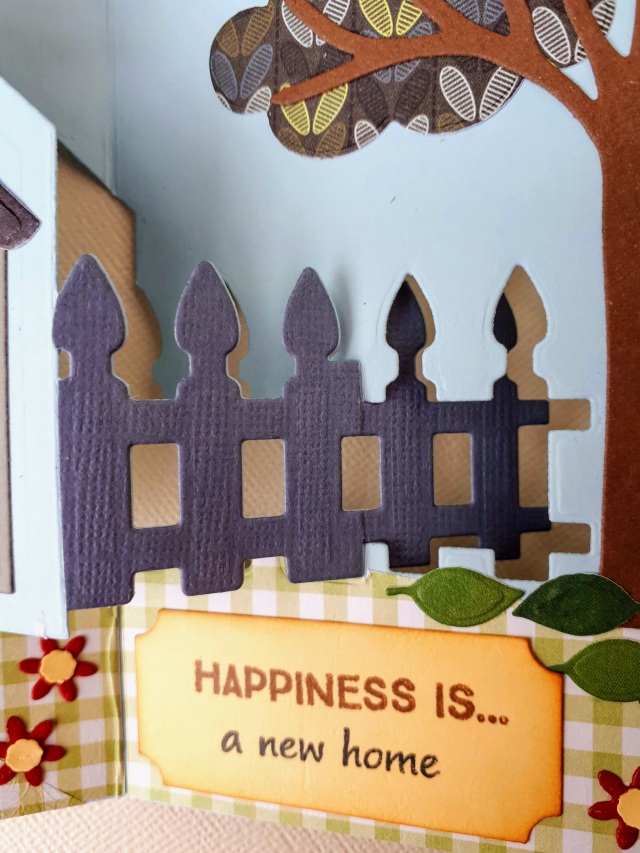
I used the fence part of the main die cut in a dark grey to layer over the fence and created a label using an EK Success punch and some word stamps from Creative Stamping magazine.

20200804_111641

They have both settled into their new home which they had only been able to view via a video tour before they moved in last Saturday because of the lockdown. There have been no nasty surprises, and its more spacious than they expected!

Sunshine Days

We loved having mum come to stay and join our “bubble” and we all kept very busy on our “staycation” with lots of activities. Although we have had to transfer the booking for our planned cornish holiday this year it is something to look forward to next summer.

20200722_083900

I have used another free cut file from Pear Tree Cut Files. They have released three free designs so far and I have loved them all! They are opening an internet cut file shop on 1st August where either digital or precut designs can be purchased.

20200722_083915

I cut Sunshine Days in white card and then inlaid the pieces back again having coloured them with promarkers. I used diamond stickles on the sun so it really sparkles. The clouds are made with the Die-Versions “Puffy Cloud” Whispers die which cut really crisply.

20200722_083921

I have made a journaling tag that pulls out from behind the photo. I used an EK Success punch to make a decorative border along the top and glued a couple of strips together so that the tag doesn’t slip behind the photo.

20200722_083939

I have used a Creative Expressions die set to create the pretty flower clusters. I used a small round punch to make the flower centres and added diamond stickles for some sparkle and to cordinate with the sun.

20200722_083946

My base is a piece of 12×21 aqua coloured card. I have layered a strip of stripy patterned paper (lawn fawn really rainbow collection) across the centre and added a bar code strip with the yellow diagonal design along the bottom! I love the finished layout as it is so bright and happy.

Summer Skirt

Sarah chose this magazine when doing our weekly shop partly because she liked the skirt pattern that it came with. New Look K6437 was described as a two hour skirt but it took me about four hours to make. It has a flat front waist band with an elasticated back, and a gathered skirt plus pockets. I also made the optional tie belt.

20200719_135426

The fabric is a new duvet cover from Asda which I had prewashed and ironed. Sarah told me that large leaves are very fashionable at the moment and loved this pattern. The king size duvet cover cost £16, and I still have at least half of this leafy material left, as well as the entire reverse and two pillow cases!

20200721_150514

After a successful mornings sewing Sarah was very happy with her new skirt, especially the very large deep pockets hidden in the side seams!

20200721_183147

20200721_183218


Osorno Volcano

Although we didn’t appreciate it at the time we were very lucky to see the Osorno Volcano so clearly on the day we visited. Clouds usually obscure the view of the mountain 80% of the time! Standing 8,701 feet tall (2,652 metres) the volcano’s upper slopes are almost covered in glaciers. Described as a tall conical volcano it has a similar appearance to Mount Fuji in Japan.20200706_074620(1)
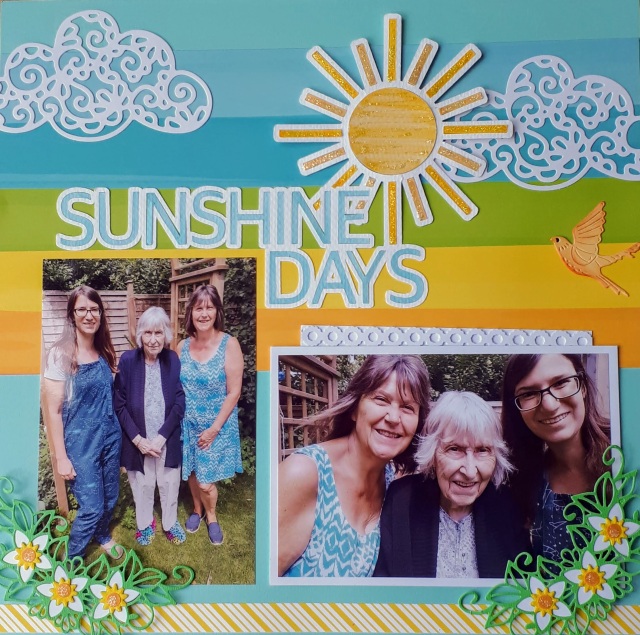
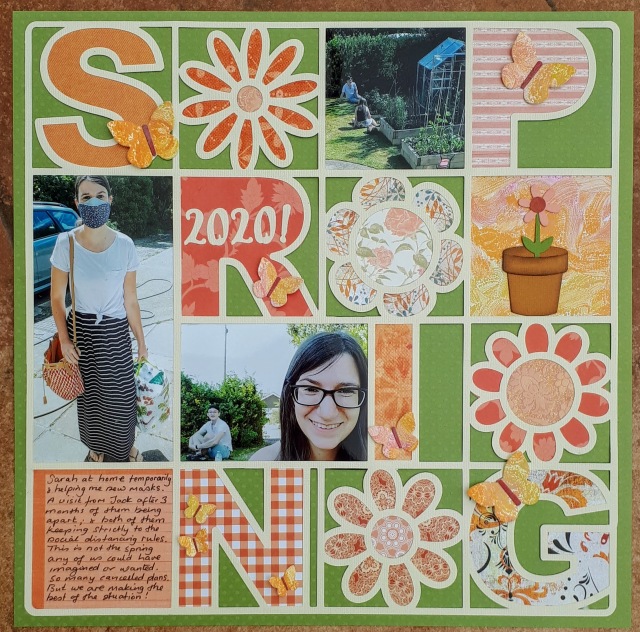
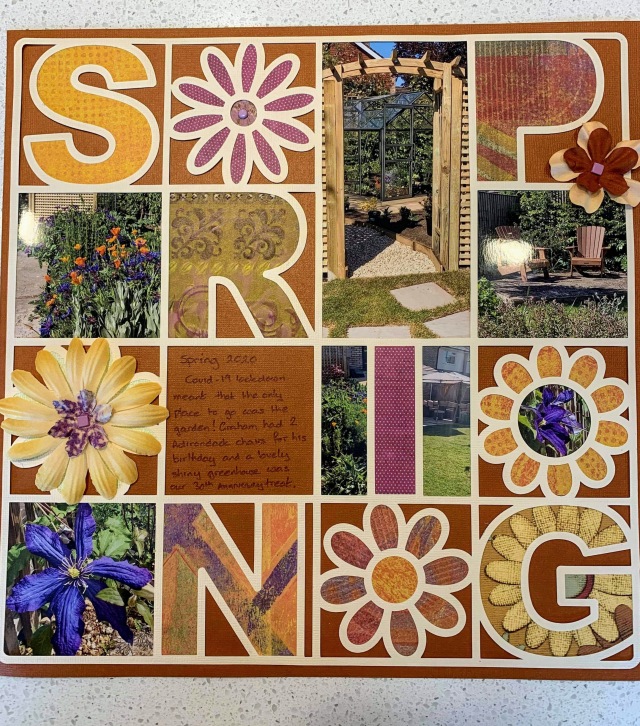
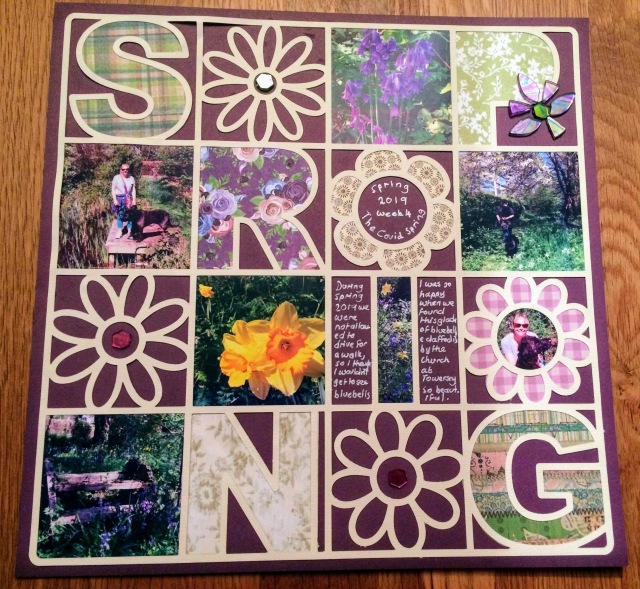
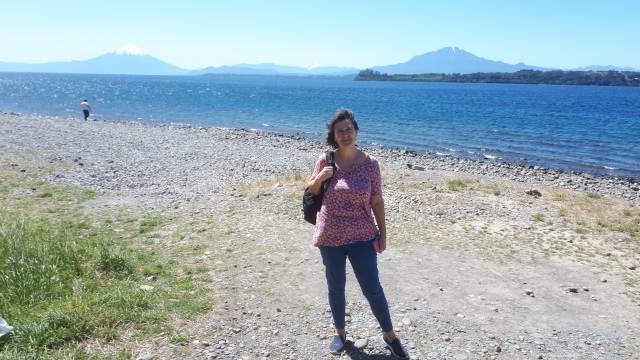
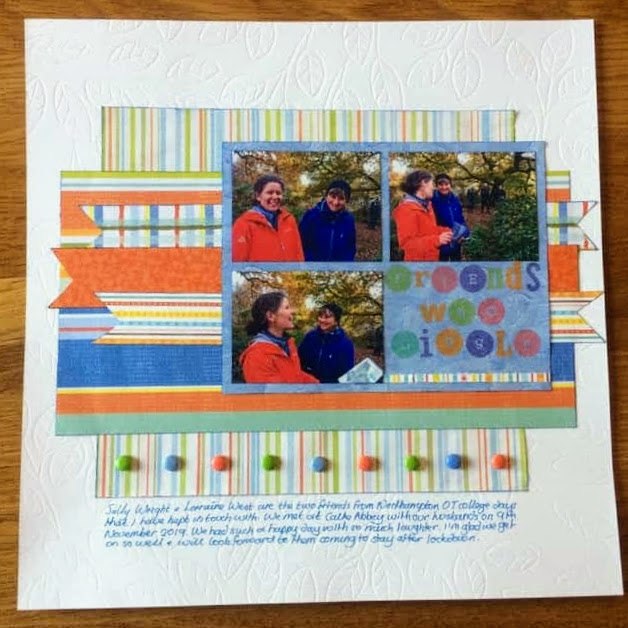
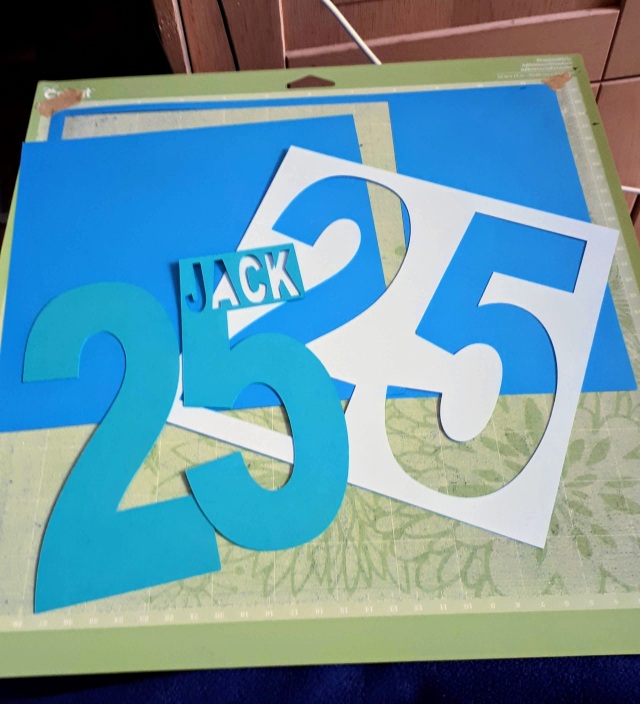
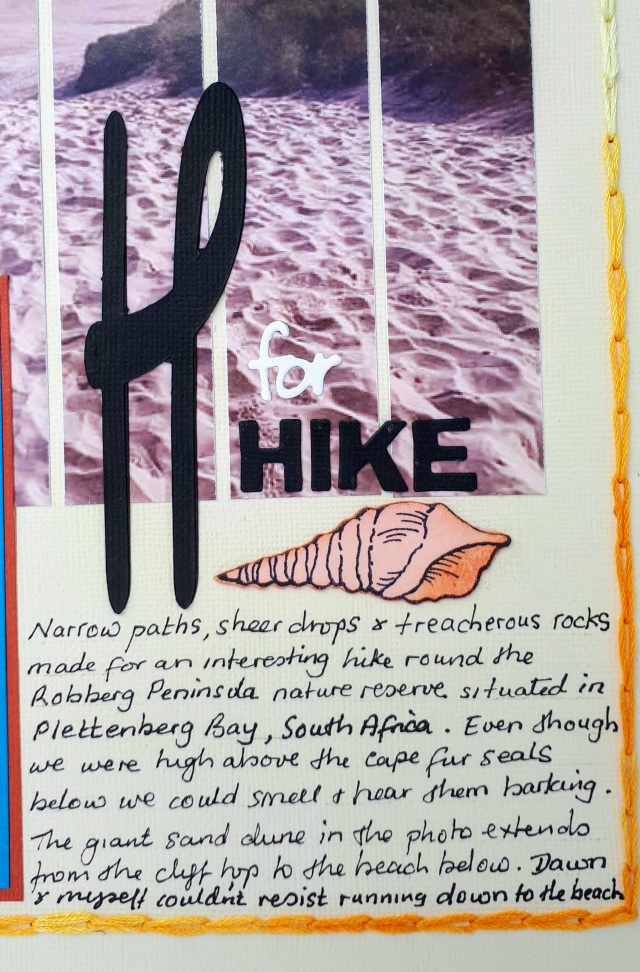
I used a cut file from Paige Evans for my layout but snipped it apart as I didn’t want the entire circular design. I’ve used scraps of patterned papers to back each section, and written journaling directly onto the “lake shore”.20200706_074643(1)
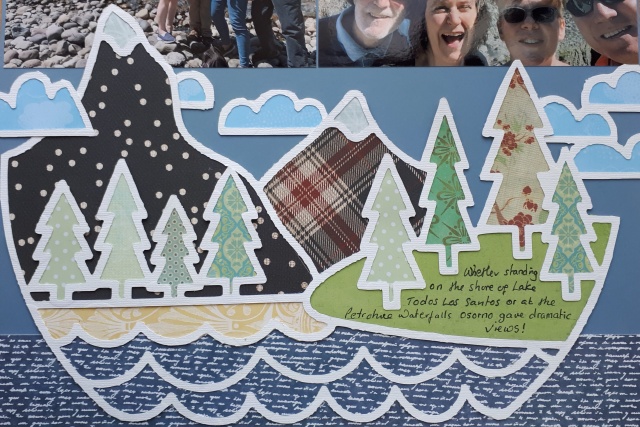
Osorno Volcano in Chile lies between Osorno Province and Llanquihue Province. Osorno.png

It stands on the south eastern shore of Llanquihue Lake and also towers over Todos los Santos Lake. Wherever we were we had stunning views.

20200208_110919

Osorno is the most active volcano in the Southern Chilean Andes. It has erupted numerous times between 1575 and 1869 which was the latest eruption. Charles Darwin witnessed an eruption from a distance in January 1835 during the second voyage of the Beagle.20200208_143714

Dawn booked us onto a small local tour which enabled us to visit all the main attractions. Beautiful weather and clear views really enhanced our day.20200208_125310

DSCN3786

Giraffe Top

I have made Sarah a second top, this time using a purchased pattern and a piece of fabric Sarah found in my stash and liked. Evidently animal prints are in fashion at the moment!

20200714_201925

I didn’t have enough giraffe fabric for the facings so used a piece of ivory cotton (an old sheet!) instead. As the top is close fitting it isn’t seen when the top is worn and the inside does look rather neat too.

20200714_152605

I used  New Look 6483 and made view C. Although the pattern states it is a one hour easy sewing time it took me much longer!

20200713_115636

I did start by making a toile from sheeting to check the fit which was a good idea as Sarah likes tops to finish near her waist so I adjusted the pattern by 3″. Paul and Sarah are decorating my craft room which is exciting so all my stash and sewing machine are currently in the conservatory. Here’s a photo taken by Sarah of me trying to create amidst chaos!

IMG-20200713-WA0001


Rainbow Days

During a virtual crop a couple of days ago two of us did a scraplift challenge which I thought I would share. I have a lot of patterned papers so it was nice to be able to use some on my page (from the Really Rainbow collection by lawn fawn). I was inspired by the free cut file that I have used for my title from Pear Tree Cut Files, and the rainbow pattern on my daughters dungarees. The journaling is hidden on the pull out tag top right.

20200717_173012

My friend Lynda Pearce created Friends Who Giggle, using three small photos and I love how it turned out. Lynda has used a piece of white embossed Bazzil card for her base and lots of stripy patterned papers. The title has been made with rub ons, and her journaling is written very neatly directly onto the page. I like the row of brads along the bottom.

received_718906552229120(1)

This is a screen shot of the layout by Lou Stiner for Paper Issues that we scraplifted. Lynda kept her layout very close to the original whilst I adapted mine to accommodate larger photos and the title I wanted to use:

received_1016108912138042

I might have to scraplift Lou’s lovely layout again as the design has lots of possibilities.


Happy Birthday Jack

It was Jacks birthday last week and this is the card I made to give to him. I have made an 8″ card base and used my Cricut to create the layers, then decorated using Creative Expression dies.

20200710_113635

I added real thread to each of the balloons. I cut each balloon twice and glued the thread between the layers. This also meant that the balloons have more depth. Some close ups:

IMG_20200710_113934

I used a Woodware stamp for the inside and carried the decoration through by adding a balloon:

20200710_113259

The card layers cut using my Cricut:

20200710_085207

Sarah, Jack and four friends met in our garden for a socially distanced evening to celebrate Jacks birthday. 20200710_181152

Sarah made a special birthday cake and it looked like they were all enjoying themselves!


So Many Sewing Projects

I have had great fun turning duvet covers into all sorts of clothing for my family. I love the Heydays dungaree pattern and have now made three pairs (with more planned!)

20200705_133936

This pair for Sarah has been made from a £6 Asda duvet cover she found on Facebook market place! We still have the reverse side to use and some more of this fun dinosaur galaxy print that would be sufficient to make a camisole top.20200705_133929

My other daughter loves hers and says they are so comfortable to wear!

IMG-20200629-WA0007

I sent her a matching face mask too. The soft grey with a little rainbow print was also an Asda duvet cover.

IMG-20200630-WA0000

I found a really pretty single duvet cover in the airing cupboard from when the girls were little and have turned it into a summer dressing gown for my mum. The front is a patchwork design in soft pinks, greens and blues.

20200705_174627

I used bands of the pink and white floral reverse to create a design feature for the sleeves, and for the front trim, as well as the tie belt and patch pocket.

20200705_174614

Mum admiring Sarah’s dungarees!

20200705_133850

I downloaded a sewing pattern from a sewing magazine to make this camisole top for Sarah from a tiny piece of fabric she found in my stash. I had to make some adaptions but she is delighted with it.

IMG-20200630-WA0019

I have also used this pattern to make her a summer dress, although I found the instructions confusing and made quite a lot of it up as I went along!

20200630_120049

IMG-20200701-WA0010

Sarah likes the unusual neckline. This is the reverse of another Asda duvet cover. I made a matching mask again. Our total now is 277 masks completed!

IMG-20200701-WA0011

I have lots more sewing projects planned……

H for Hike

Using the mosaic slice technique again I have created another layout for my South African album. The Robberg Peninsula nature reserve offers three hiking trails and we chose to walk the medium difficulty trail. With narrow paths, sheer drops, and tracks  that led across wave swept rocks we were relieved we didn’t choose the harder trail!

20200628_161701(1)

I have stitched a border for the layout using a chain stitch with embroidery thread with tonal colour variations. The simple shell embellishments were made with a Stampendous stamp set.

20200628_161732(1)

I have adhered the title directly over the  large photo, and written journaling directly onto the background.

20200628_161816(1)

The peninsula juts into Plettenberg bay where we had seen whales and dolphin on our ocean safari.

20190916_142608

The peninsula is home to a large colony of Cape Fur seals that we had seen from a small boat:

20190915_140424

The start of our hike took us along the cliffs and we could see, hear and smell the colony way below us!

20190916_150531

We took plenty of water on our hike which we needed because it was so hot. The path was steep with plenty of sheer drops, but with amazing views out to sea.

20190916_143902
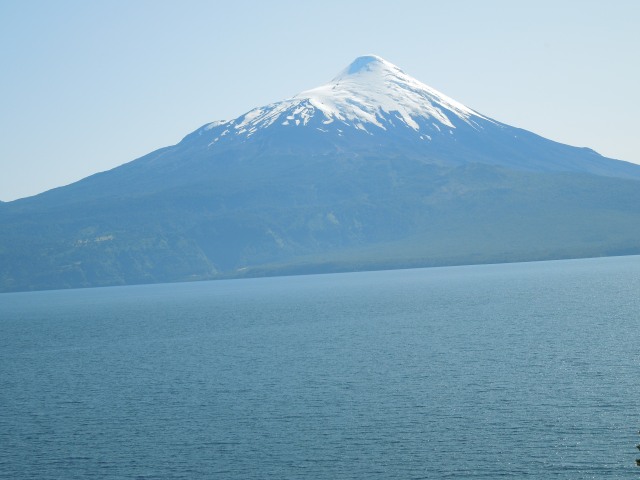
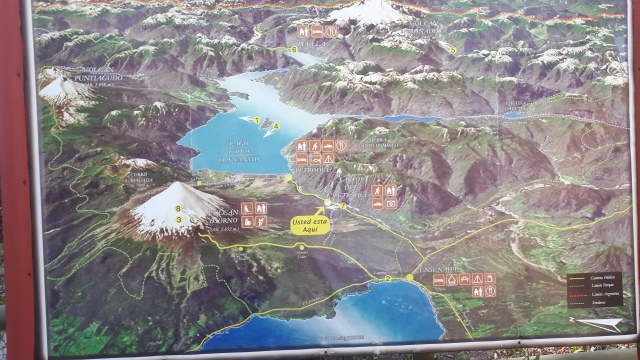
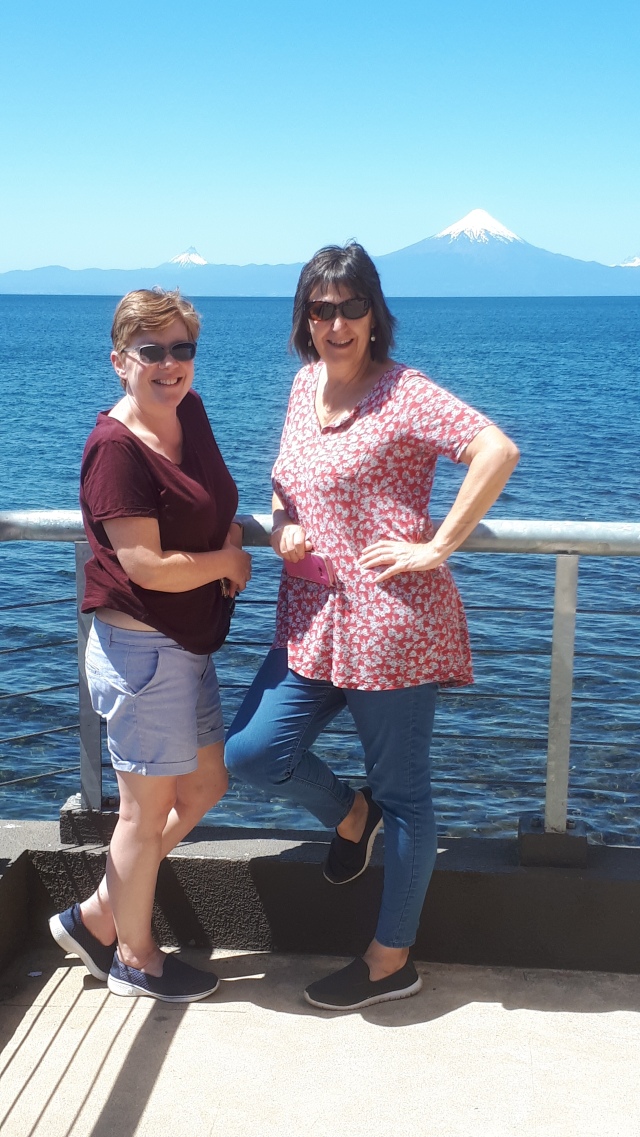
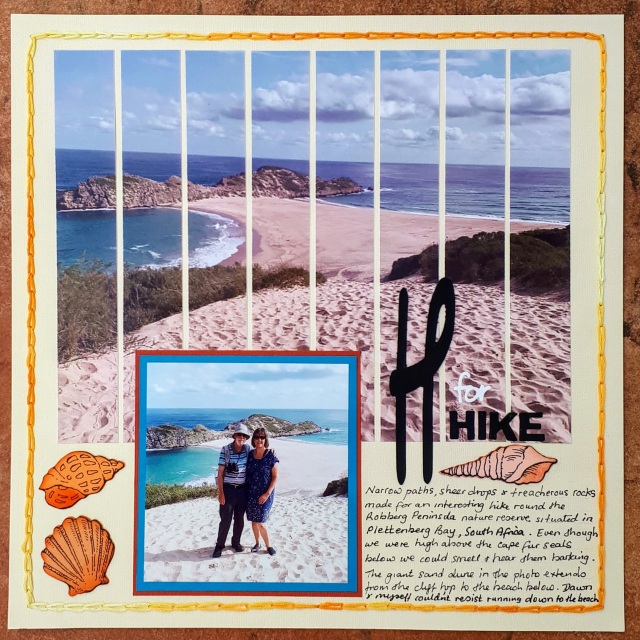
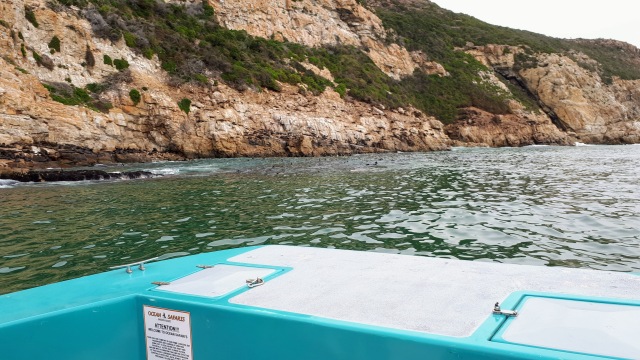
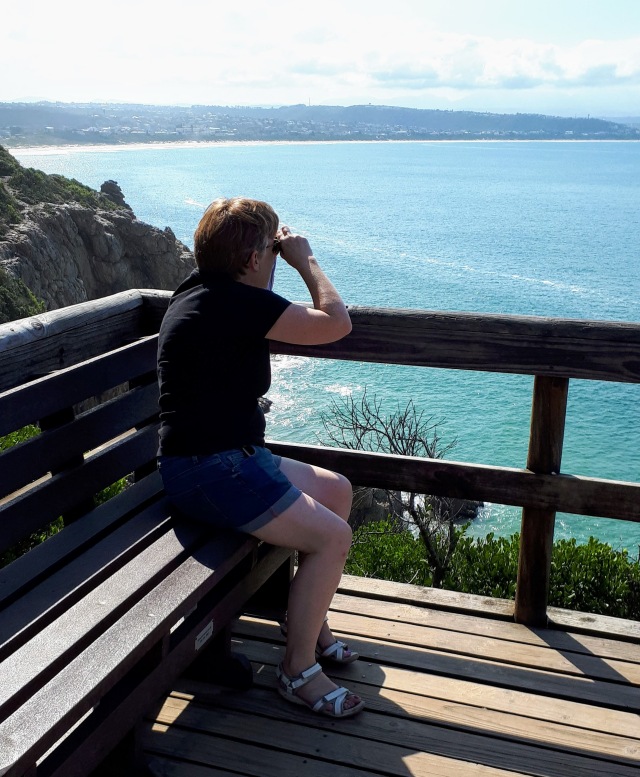
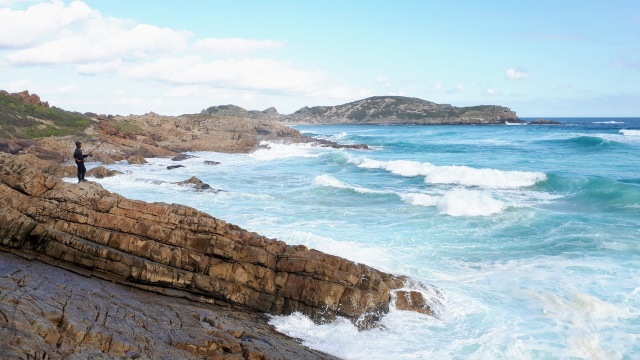
When we came across a viewing platform it was a perfect opportunity for trying to spot whales out in the bay!

20190916_142617

We spotted plenty of lizards and insects during our hike including giant grasshoppers! Check out this one compared to the size of Graham’s trainers.

20190916_145945

We crossed from one side of the peninsula to the other when we came to a massive sand dune which we followed down to a beach and island.

20190916_152126

So beautiful and almost deserted.

20190916_154853

20190916_154232

Our return hike took us back along the other side of the peninsula, but this time we were either just above the water level or climbing steep paths before dropping back down again.

20190916_160209

Sometimes the path disappeared and we had to scramble across the rocks with the waves crashing only feet below us!

20190916_160043

Views back to the beach and island:

20190916_163713

21

It’s hard to believe that we visited South Africa only 10 months ago. It was a wonderful holiday filled with activity, wild life and so many memorable moments. I’ve enjoyed revisiting our afternoon hike through my scrapbooking!

Spring 2020!

I enjoyed creating this layout at our virtual crop. We all used the lovely cut file SPRING, designed by Paige Evans and cut in a soft cream colour using my Cricut. My spring has been spent at home and in the garden.  Sarah has been temporarily staying with us so my page highlights our current reality.

20200606_093453(1)

I used a gel plate and distress oxide inks to create some pink/orange card from which I have die cut butterflies (Lawn Fawn) to embellish each letter of the title. I used scraps of toning patterned papers to back each letter, and the flower outlines.

IMG_20200606_095830(1)

I have used another lawn fawn die set to create this simple flower pot embellishment, with the same gel plate print coloured card behind.

20200606_093828(1)

Dawn’s layout showcases the changes they have recently made to their lovely garden. I recognised some early Basic Grey patterned papers that I stocked at the craft centre over a decade ago! All the colours go so well together.

received_978809755882706

Lynda has highlighted spring flowers photographed whilst out walking and has managed to incorporate seven places to add photos.  Beautiful deep colours that reflects the blue bells in her photos.

received_588368631806850

Darryl has used bright cheerful colours and photos of pots of flowers in her garden, plus heaps of fun little embellishments! I like that metal ladybird. Each letter has been backed with a solid colour so they stand out from the patterned papers.

received_2613291945437732

Using this SPRING cut out was a lovely challenge at our virtual crop, and a great way of using up little scraps. I think all four finished pages look fabulous, and were fun to create!